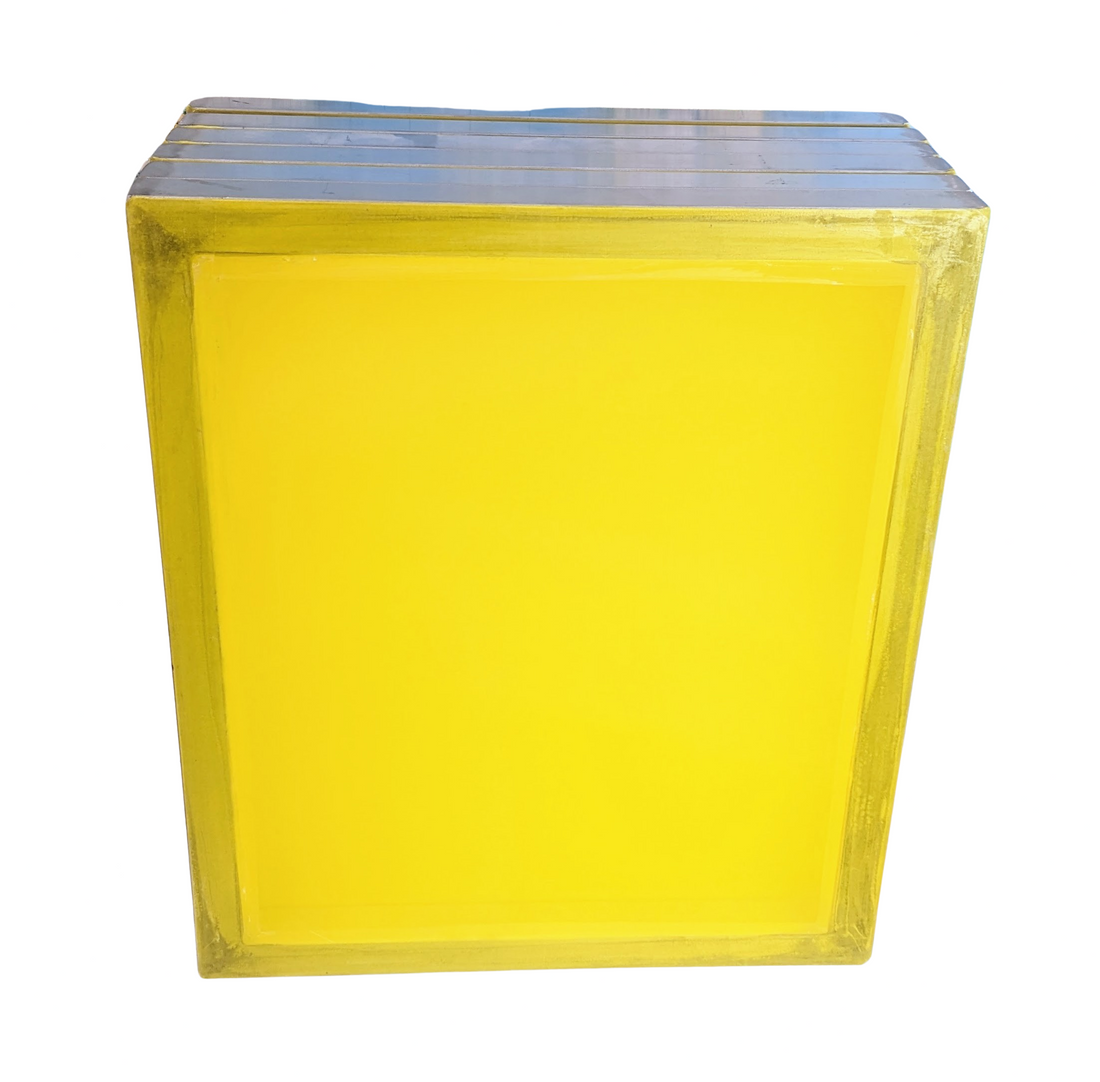
Using Different Mesh Counts in Screen Printing: A Comprehensive Guide
Share

Using Different Mesh Counts in Screen Printing: A Comprehensive Guide
Screen printing is an art and a science, where the tiniest detail can make a huge difference in the outcome of a print. One of the most crucial yet often overlooked elements in screen printing is the mesh count of the screen. Understanding and selecting the right mesh count can impact the clarity, durability, and overall quality of your prints. In this comprehensive guide, we’ll dive into what mesh count means, how to choose the right one, and how using different mesh counts can enhance your screen printing results.
What is Mesh Count in Screen Printing?
Mesh count refers to the number of threads per inch on a screen. A higher mesh count means more threads per inch and smaller openings in the mesh, while a lower mesh count has fewer threads per inch with larger openings. Mesh counts typically range from as low as 25 to as high as 355, with each range serving a specific purpose.
Mesh count is essential because it determines the amount of ink that passes through the screen and ultimately onto the substrate. It directly influences the detail and density of your print, so understanding what each mesh count offers will help you achieve your desired result.
Why Does Mesh Count Matter?
Mesh count impacts:
- Ink Flow: Lower mesh counts allow more ink to pass through, while higher counts restrict ink flow for finer details.
- Image Detail: High mesh counts are ideal for fine details and complex designs, while low mesh counts work well for bold graphics and thicker inks.
- Ink Deposit: The thickness of the ink layer varies depending on the mesh count. Lower mesh counts allow for heavier ink deposits, which is ideal for bright colors on dark substrates.
Now that we understand why mesh count matters, let’s look at the typical mesh ranges and their best applications.
Common Mesh Count Ranges and Their Uses
-
Low Mesh Counts (25–80)
Best for: Glitter, shimmer inks, or thick inks.
Low mesh counts are perfect when you need a lot of ink on the substrate, such as for specialty inks with larger particles like glitter or shimmer inks. These mesh counts allow for a heavier ink deposit, which helps the particles show up vibrantly. -
Medium-Low Mesh Counts (110–160)
Best for: Bold, opaque prints on dark garments.
Screens with mesh counts in the 110–160 range are versatile and ideal for solid color designs, especially when printing on dark fabrics. This range is commonly used for blocky, simpler designs, as it allows for a good amount of ink coverage without losing sharpness. -
Medium-High Mesh Counts (180–230)
Best for: Moderate detail, halftones, and photographic prints.
These mesh counts are great for more detailed work, like halftones and photographic images, while still allowing sufficient ink flow. The 180-230 range is popular for detailed designs on light-colored fabrics and works well for general multi-color prints. -
High Mesh Counts (230–355)
Best for: Fine details, thin lines, and fine halftones.
High mesh counts are used for printing fine details and thin lines with precision. When printing on light-colored garments with water-based or plastisol inks, these mesh counts allow for crisp, sharp images with controlled ink flow, ensuring fine details are preserved.
How to Choose the Right Mesh Count for Your Project
Choosing the right mesh count depends on several factors:
- Design Complexity: For intricate, detailed designs, opt for higher mesh counts.
- Ink Type: Specialty inks like glitter or metallic inks require lower mesh counts, while water-based inks may require higher counts for precise detail.
- Substrate Color: Darker fabrics generally require lower mesh counts to ensure strong color opacity, while light fabrics work well with higher mesh counts for finer detail.
Common Mistakes to Avoid When Choosing Mesh Counts
- Using One Mesh Count for All Designs: Different designs require different mesh counts. Avoid a “one-size-fits-all” approach and tailor your screen choices to your specific project needs.
- Neglecting Ink Characteristics: Not all inks perform the same way with different mesh counts. Test your inks on various screens to see how they respond.
- Overlooking Substrate Type: If you’re printing on a textured material, for example, you might need a lower mesh count to allow for a thicker ink deposit that better adheres to the surface.
Experimenting with Mesh Counts for Unique Effects
You don’t always have to stick to standard mesh counts. Combining different mesh counts on multi-layered designs can create unique effects:
- Mixed Mesh Counts for Dimension: Use a low mesh count for the background and a high mesh count for details to add visual depth.
- Layering Specialty Inks with High Mesh Counts: Overlay glitter or metallic inks on a lower mesh count background for a striking finish.
Conclusion
Mesh count is a powerful yet simple way to fine-tune your screen printing results. By understanding the characteristics of each mesh count range and tailoring your choice to your project, you can achieve exceptional prints that stand out. Experimenting with different mesh counts is key to mastering screen printing techniques, so don’t be afraid to try new combinations and find what works best for your designs.
At [Your Company Name], we offer a range of mesh screens to meet every screen printing need. Whether you’re a beginner or a pro, we have the tools and expertise to help you produce stunning prints. Contact us today to explore our high-quality screen printing supplies and elevate your craft!
This guide provides a detailed overview of mesh counts, so you can print with confidence and precision every time. Happy printing!
